This site provides documentation for your LoRa Plus™ Sales Demonstration Kit. The goal of the LoRa Plus™ Sales Demonstration Kit is to provide a platform for the demonstration of the networking capabilities of the LoRa Plus™ including LoRaWAN network and application server. It includes information about the kit operation as well as several components including ChirpStack, InfluxDB, and Grafana.
There are multiple components in the kit was well as software stacks such as ChirpStack, InfluxDB and Grafana. The following will walk you through the documentation for each component and setup and operation of the kit.
Any issues or questions should be directed to lora-plus@semtech.com.
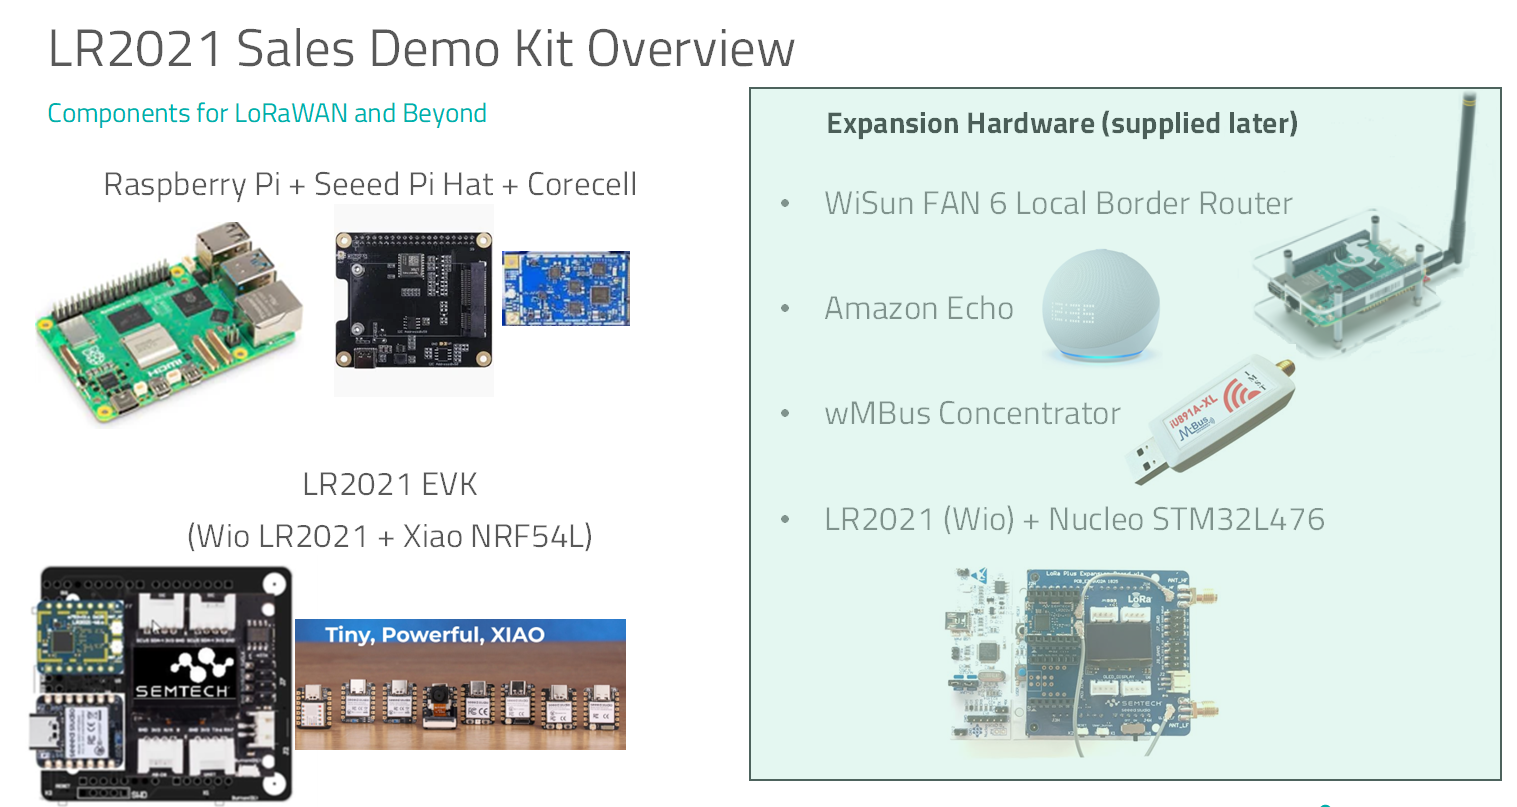
The core of the LoRa Plus™ Sales Demonstration Kit is a Raspberry Pi and it will serve as the nexus for all of the functions enabled in the kit. The components of the overall kit are shown in Figure 1. The Raspberry Pi will be running the ChirpStack, InfluxDB and Grafana software stacks to support LoRaWAN demos. Additional tools and stacks will be added as the demonstration hub capabilities expand. It will also be running the LoRaWAN network server and the LoRaWAN application server.
Here you will find documentation to walk you through for your LoRa Plus™ Demonstration Kit. There are multiple components in the kit was well as software stacks such as ChirpStack, InfluxDB and Grafana. Use can use the navigation above to explore each component.
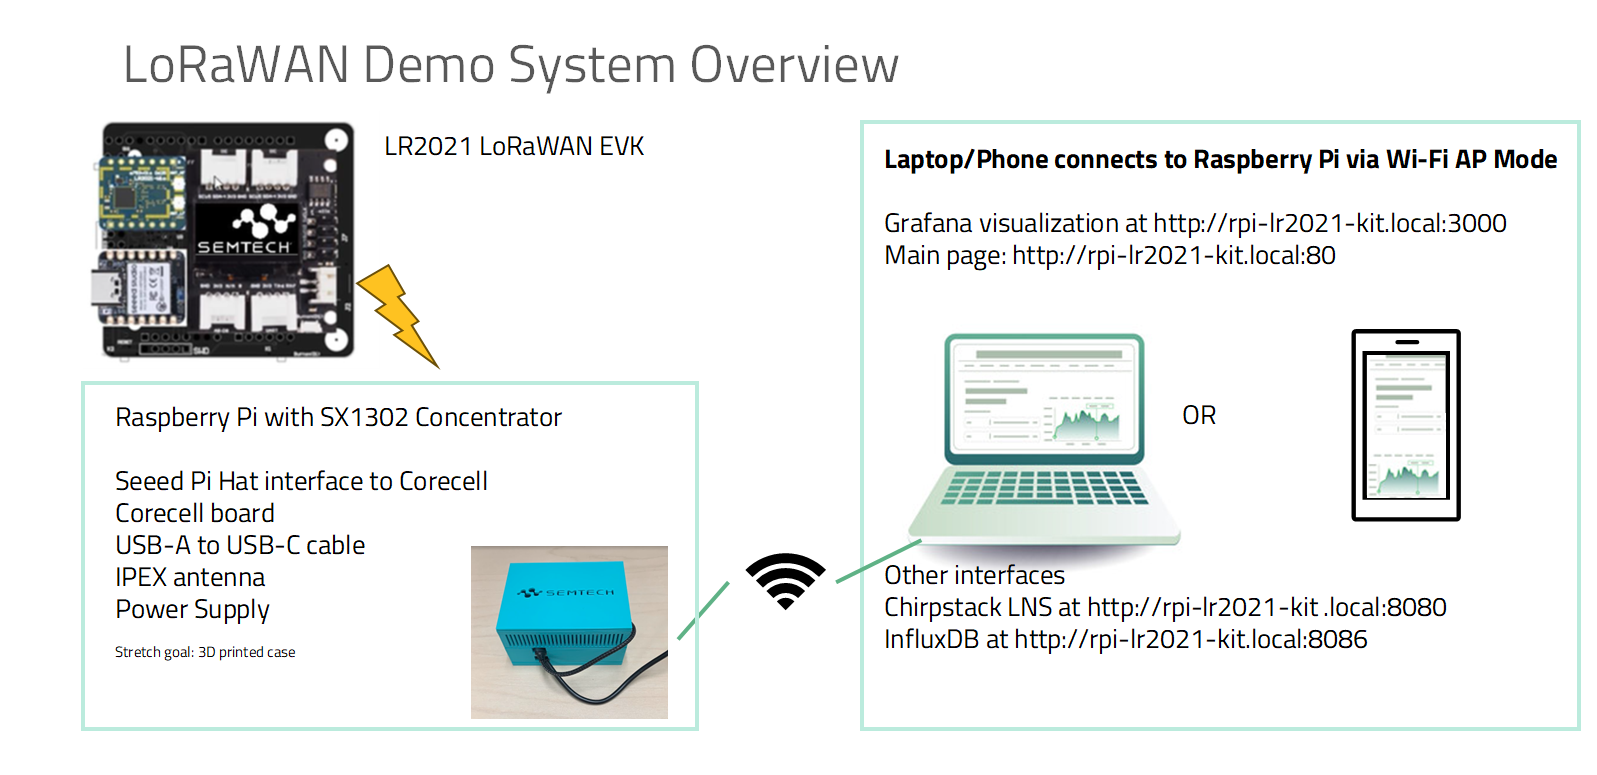
The primary access to the system will be through the Wi-Fi AP hosted by the Raspberry Pi. Once on the Raspberry Pi hosted network, the user will interact with different services through a the web browser. The system has been designed to be extensible to support other networks such as Wi-SUN and Z-Wave in the future. The Raspberry Pi will be configured initially with:
The Raspberry Pi will be running the ChirpStack, InfluxDB and Grafana software stacks to support LoRaWAN demos. Additional tools and local services will be added as the demonstration kit capabilities expand.
All of the functions core of the LoRa Plus™ Sales Demonstration Kit is a Raspberry Pi and it will serve as the nexus for all of the functions. The user will access the Raspberry Pi by connecting to the Wi-Fi AP hosted by the Raspberry Pi. Either a computer or a mobile device can be used to connect to the Wi-Fi AP; some functions may perform better on a computer but will be accessible on a mobile device. The LR20xx test device will be setup to send periodic messages to the ChirpStack network. The user will be able to view the messages in the ChirpStack web interface and in the Grafana dashboard.
Apply power to the Raspberry Example: 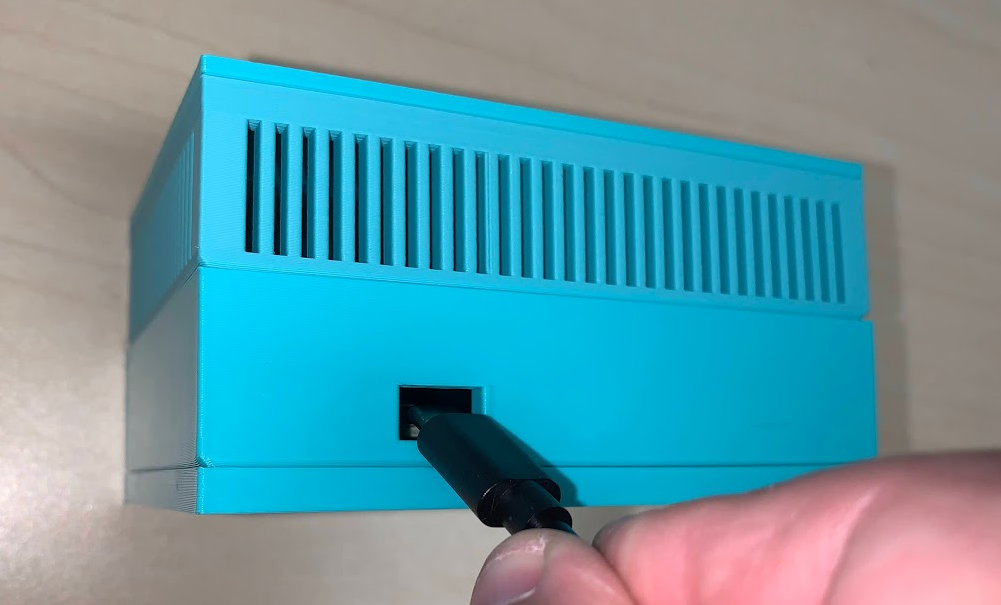
Time Configuration: If not connected to the internet, set the correct system time using the following command:
sudo date -s "YYYY-MM-DD HH:MM:SS"
sudo date -s "2025-01-27 14:30:00"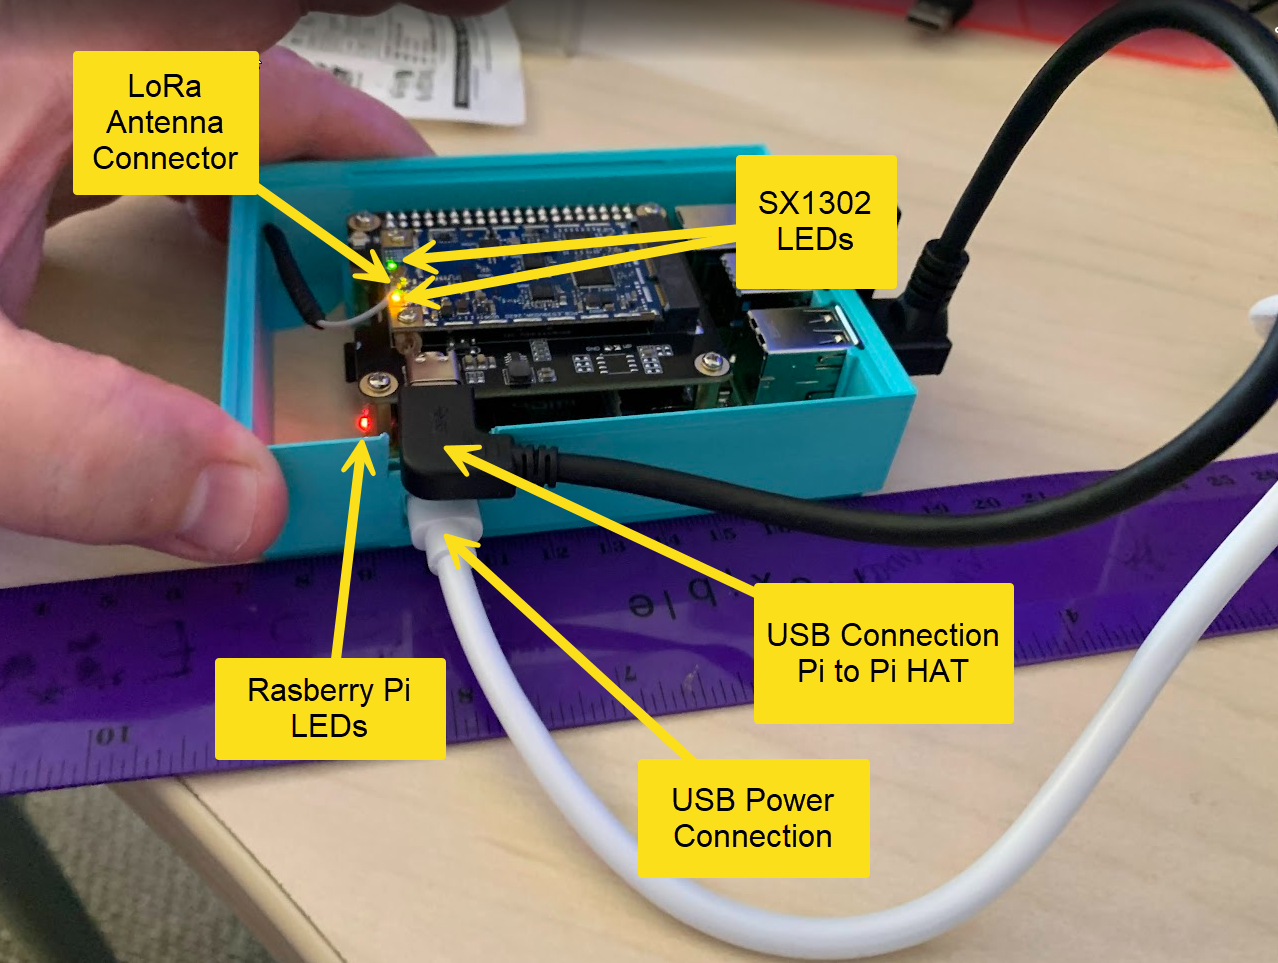
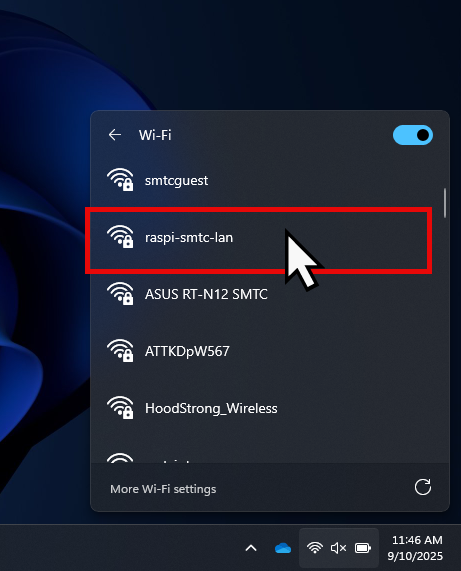
Following the Raspberry Pi and device setup, the next step is to connect to the Wi-Fi AP hosted by the Raspberry Pi. The Wi-Fi AP is named "raspi-smtc-lan" and the password is "SemtecH!Lr2021".
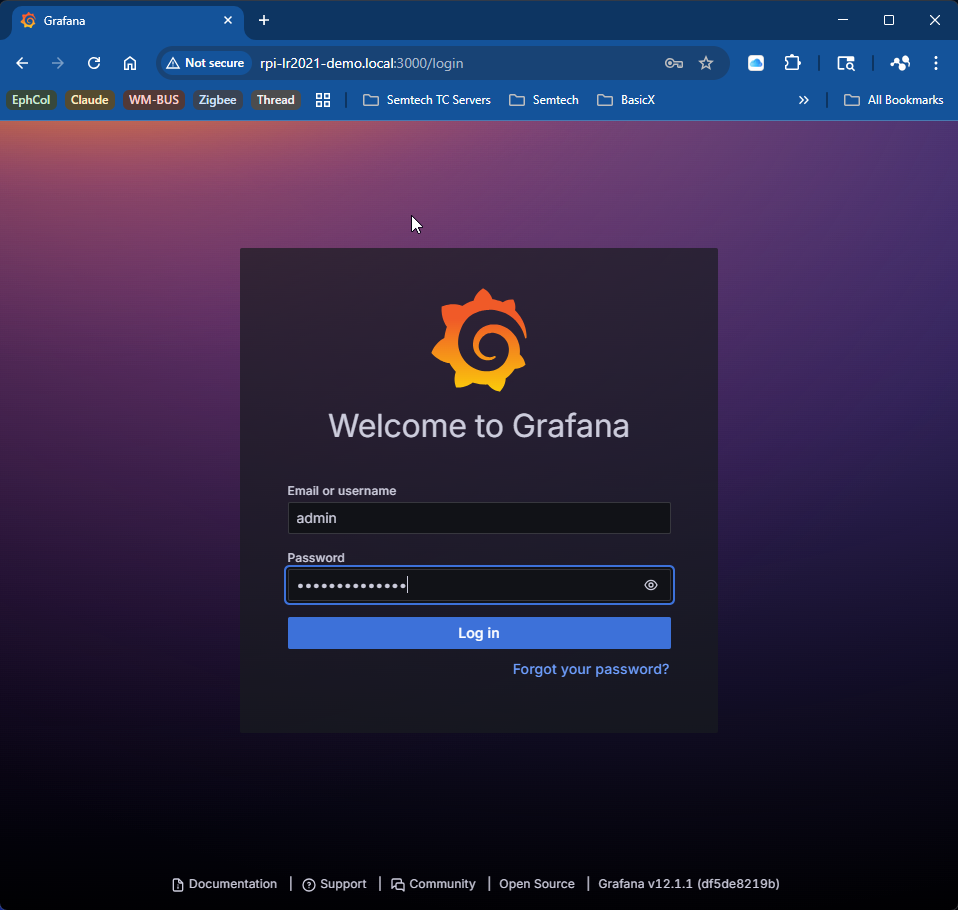
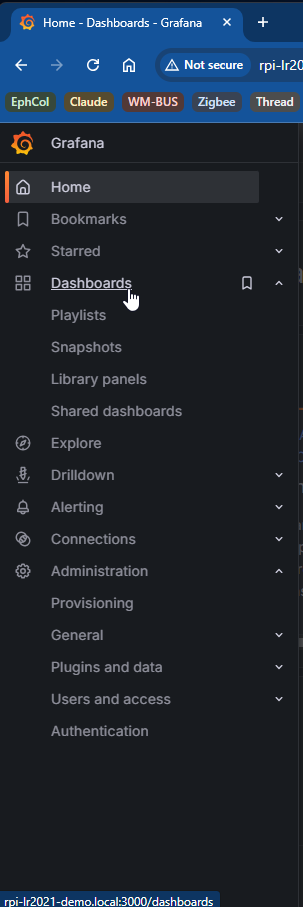
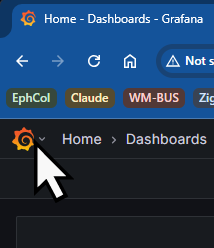
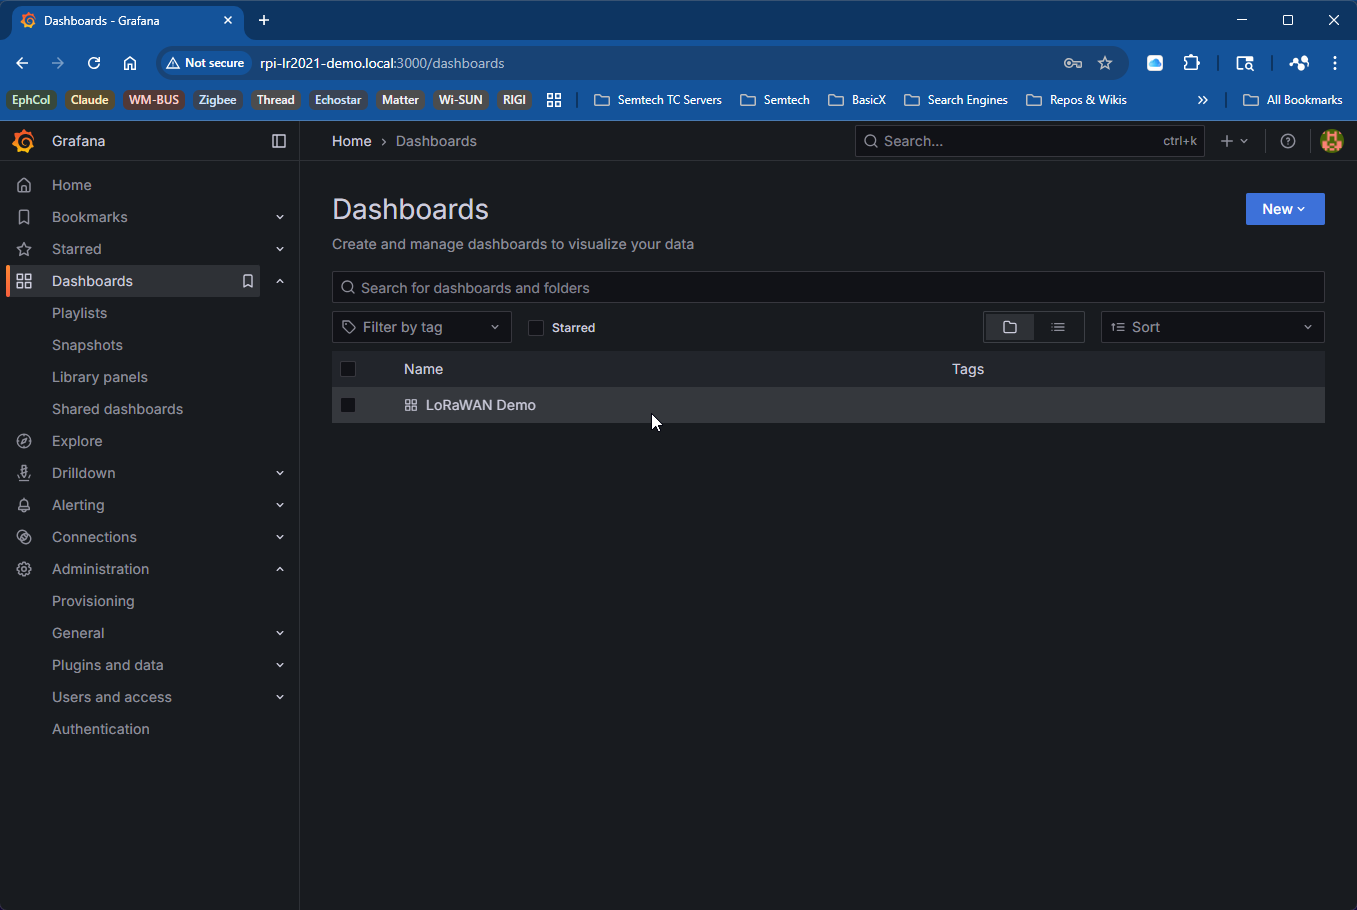
From the Dashboards page, select the "LoRaWAN Demo" dashboard:
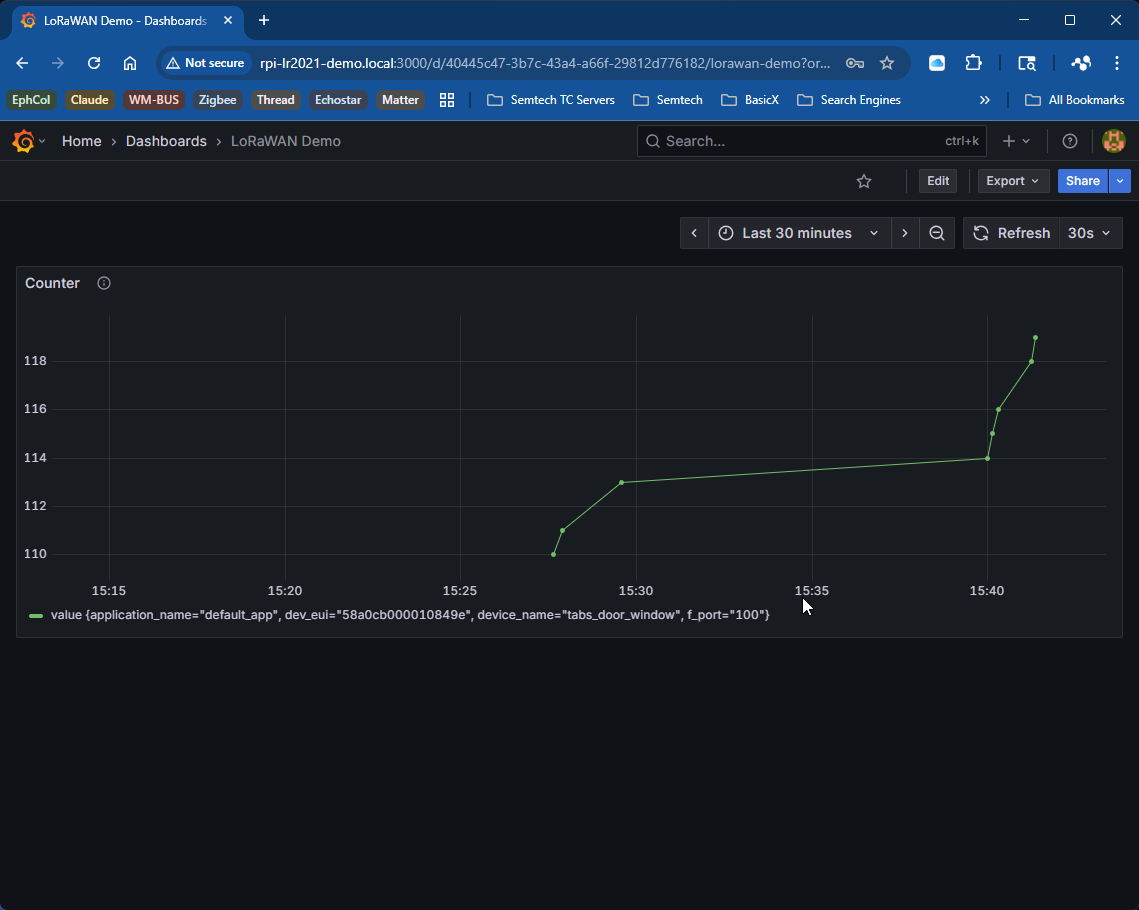
You should now see the LoRaWAN Demo dashboard:
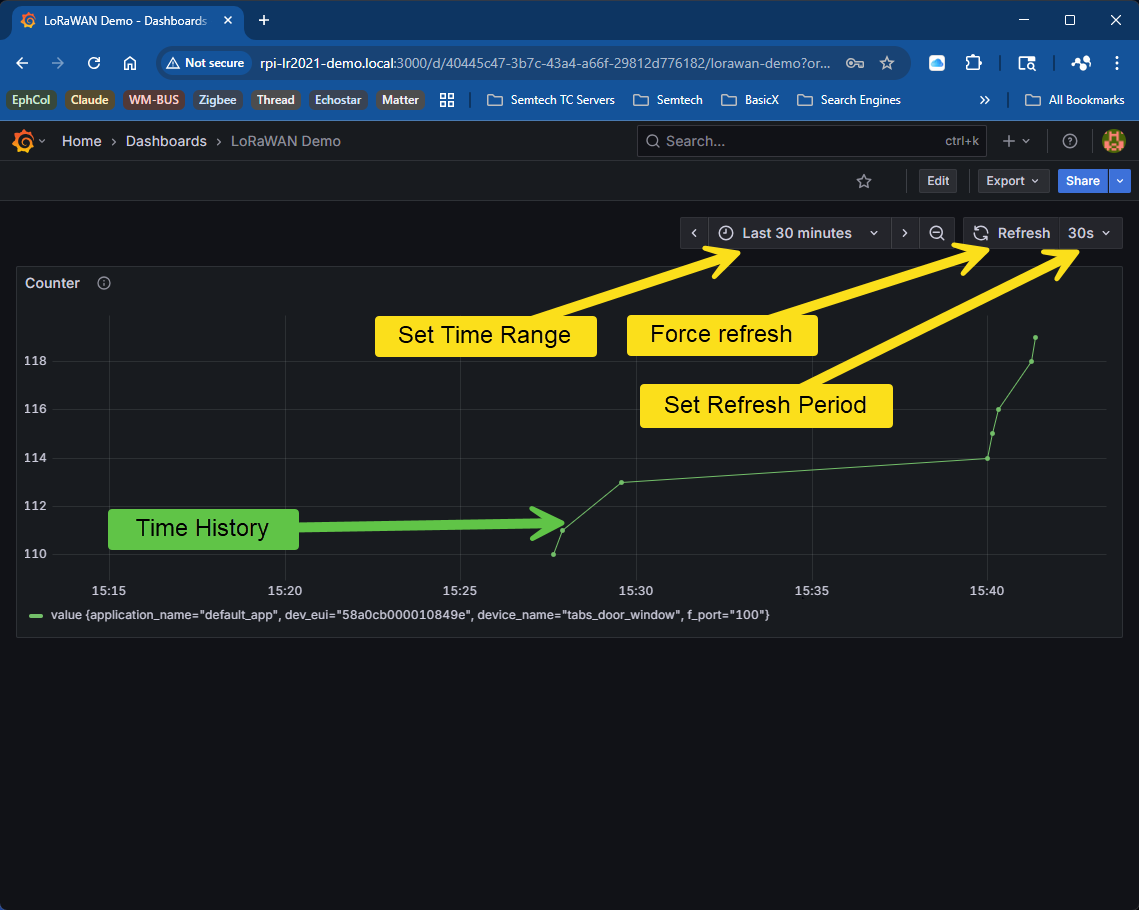
Key features on the dashboard include:
While not required for general use, the Rasberry Pi can be accessed via the command-line interface. The user will need to follow the steps below to access the command-line interface.
rpi-lr2021-demo.local pi SemtecH!Lr2021On occasion, functionality or documentation will need to be updated. The update will be provided via git and the user will need to pull the latest changes to the demonstration kit. The user will need to follow the steps below to update the demonstration kit.
cd /home/pi/SWDM030000000RPAS)git fetch --all)git reset --hard origin/main)sudo ./update.sh)New demos will be enabled as they are available to support different networks such as Wi-SUN and Z-Wave. When new features are available, there will be an update provided via git.